Markdown Test
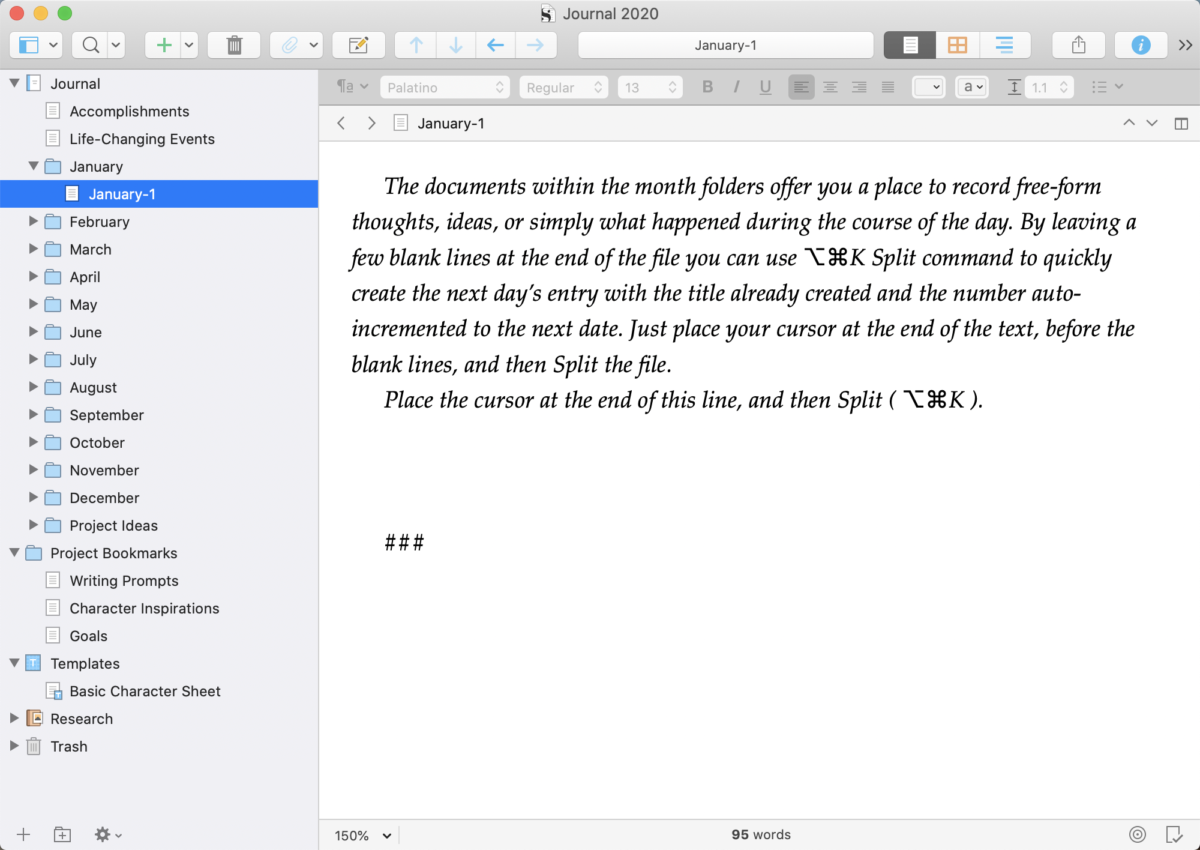
This is a test of using Markdown to create a blog post. This was originally written in Scrivener, using a blog post template that defaults the font to Courier and uses Markdown codes for indicating Headings, Lists, Links, and Bold/Italic formatting. Let’s see how it looks on the website.
Note: The original editing was done in Scrivener. On the website I used the WP Githuber MD plugin to convert from the Markdown format to HTML for display.
You can use this area for plain text writing, or you can use multimarkdown.
This is how to write an H2 subheading in multimarkdown
If you want to write a list using multimarkdown, just do this:
- List item
- List item
- List item
You can create a lower-level H3 subheading like this
You can use multimarkdown to create ordered lists too. Just number each item as shown below. When your content is converted to HTML it will automatically created an ordered list which will be styled by your blog theme’s stylesheet.
- List item.
- List item.
- List item.
If you’d like to create a link using multimarkdown, just do this: anchor text
That will create a link to http://yourlink.com using the text “anchor text.”
Some other things you can do using multimarkdown are making text bold or using italics. You can even create a blockquote like this:
Your blockquote text would go here.
Close out your article by clicking the Compile button above, or go to File>Compile. Click the downward-pointing arrow to expand your compile options.
Check only the blog post you want to compile. From the upper drop-down, choose Format as: Original. From the lower drop-down menu, choose Compile for: MultiMarkdown to Web Page.
Click the Compile button to create the HTML version of your blog post. You can then copy and paste this HTML into your blog platform’s HTML or plain text editor.


 Unlock with Patreon
